By Neil Halliday
As we all know, the STE has far superior sound capabilities than the standard ST, and for many years this has been put to good use in games and demos. However, audio processing technology and software has massively changed since the day of 8 bit sampling, and audio playback quality is now pretty much as good as it is going to get. The question is, can we put the new world of audio processing to use with our beloved Atari STE? Well, the answer is yes, we can. We can use our modern devices to create and process our required audio, and then resample it for use on the STE. This post will talk you through the process, and show you the settings you need to use in order to do it.
Audacity
One of my favourite audio programs on the PC (also available on the MAC) is Audacity. Why is it my favourite? Well, it’s free for a start! Not to mention that it also has an abundance of plugins that can be used to further extend it’s features. I’m quite familiar with Audacity and as a result I can get the results I want quite quickly. When it comes to sound and music composition, I turn to other applications, but the final results always go through Audacity to convert them into the format that will work on the STE.
If you’ve not got Audacity, you can download it here.
So, what do I need to do?
Well, it’s pretty simple really to convert your audio, but here are the steps to follow.
Load your audio into Audacity
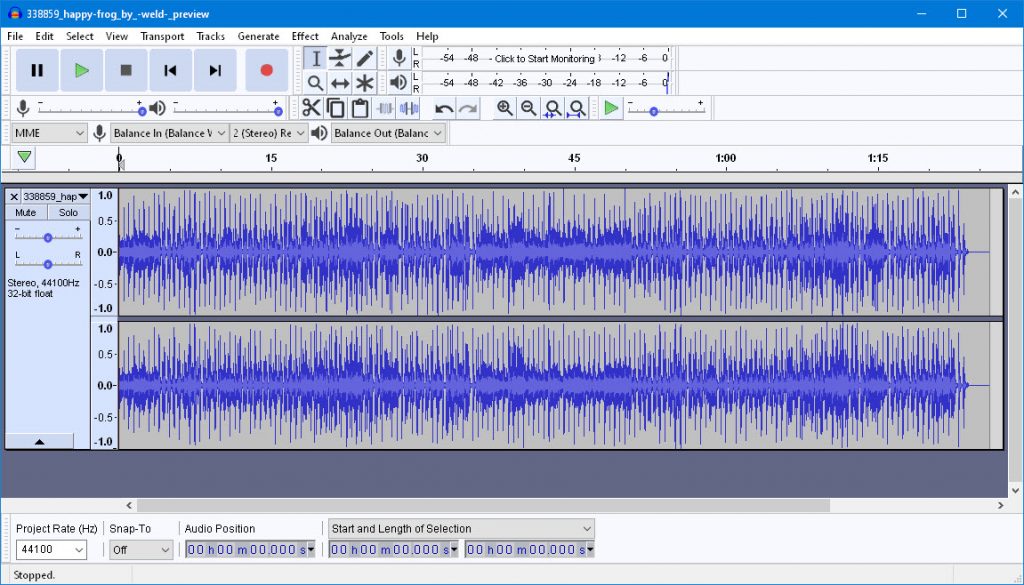
Firstly, you need to get your audio into Audacity. My preferred way is to just open Audacity and drag my audio file into it. Whatever way you do it, you’ll basically end up with your audio in the application and ready to start processing.
Make sure you set the correct Project Rate!
By default, Audacity will choose standard CD quality as it’s project rate. Notice how it says 44100 in the screen shot above. This is the frequency of the audio, which is measured in Hertz (Hz). This represents the number of samples of audio taken each second. When working with audio files, this can also be represented in kilohertz (kHz), so 44100 Hz can also be represented as 44.10 kHz.
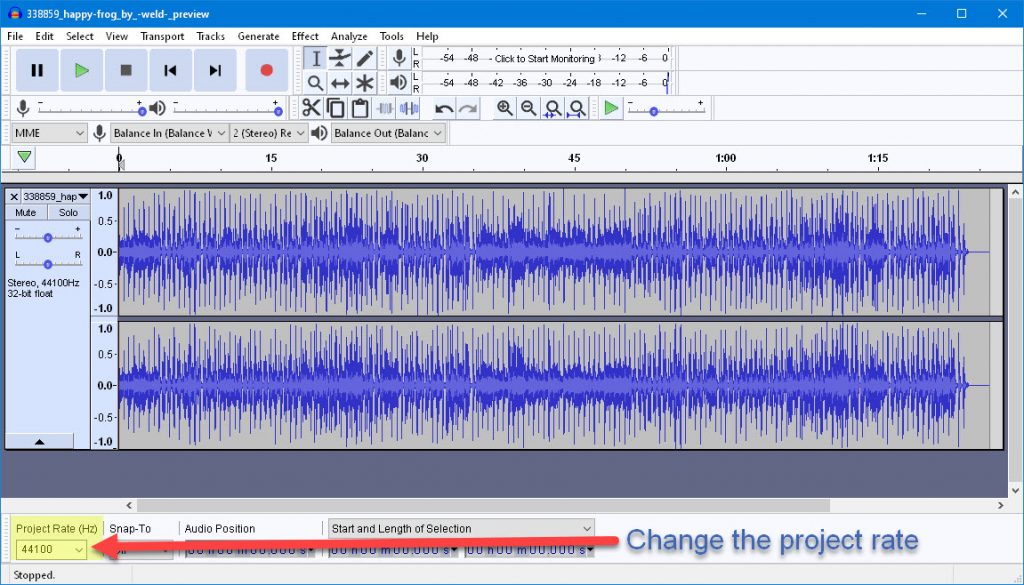
The Atari STE’s DMA chip has 8 different modes that it can operate in. These are 6.258 kHz, 12.517 kHz, 25.033 kHz and 50.066 kHz in both monophonic or stereophonic playback. So, the first thing we need to do is set Audacity to recognise the frequency that we want to work in. We do this by setting the Project Rate at the bottom left hand side of the Audacity window. We can simply type over the value that is there by clicking in the box. Remember that Audacity works in Hz, so we need to convert our kilohertz into hertz. To do that, simply multiply the kHz rates listed above by 1000.
Time to resample
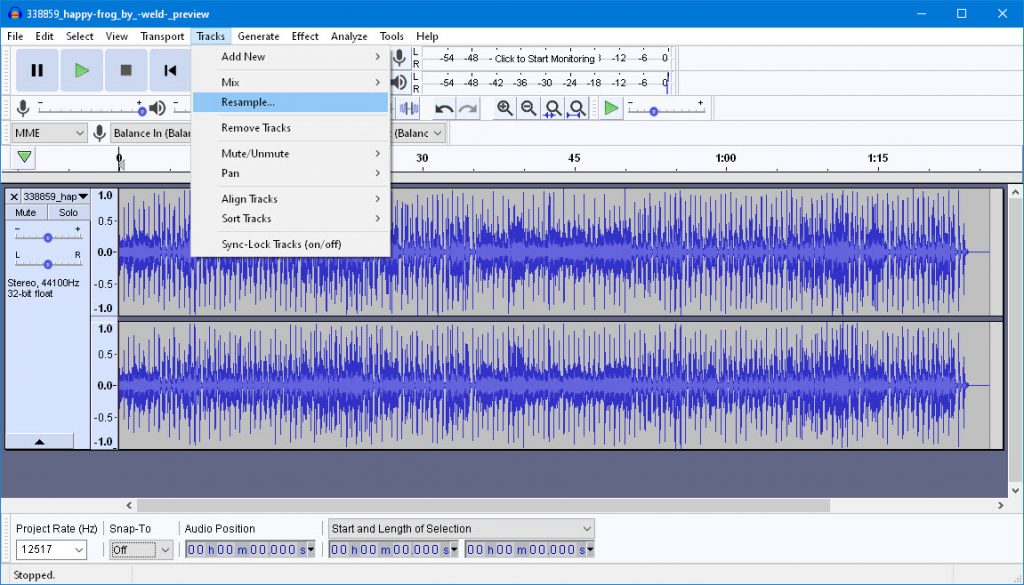
Now we need to resample our audio file so that it is in the correct rate to be replayed. This is done by using the Tracks pull down menu at the top of the Audacity window, and selecting Resample.
You will notice that Audacity knows what the project rate should be and therefore recommends to resample at that rate. If we want a different rate, we can simply over-type.
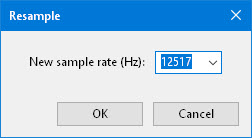
Click OK for Audacity to do it’s stuff.
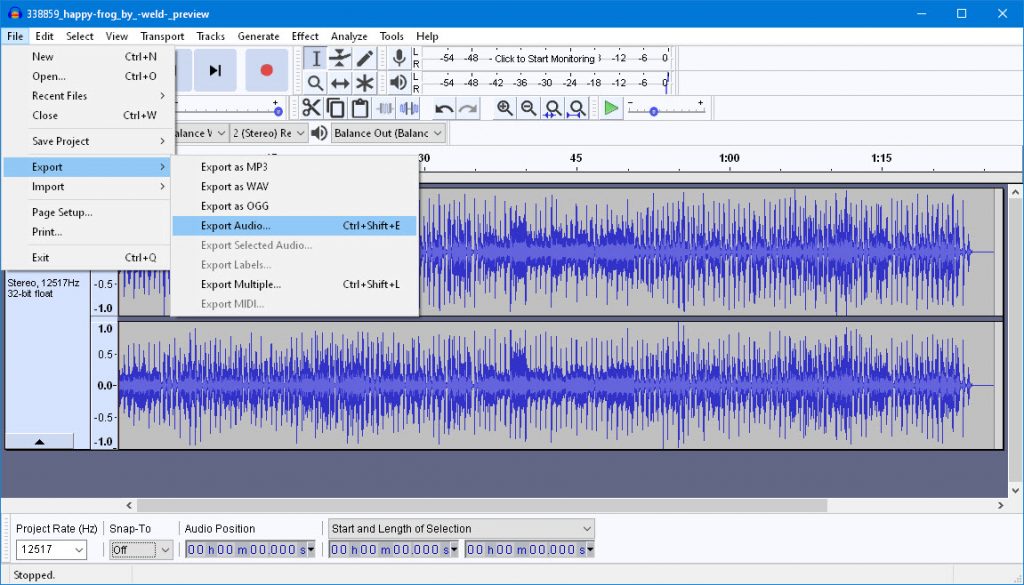
Time to export the file
This is the most important step, and the one that has to be correct; otherwise the resulting sample will be inaudible when played through the STE hardware. Go to the File menu at the top of the window and select Export. Then, from the sub-menu that appears, choose Export Audio. It is very important to use this option as it means we can change the export settings to be compatible with the STE.
You will now be presented with the standard file selector, but with some configurable options. Make sure you have the following set:
Save as type = Other Uncompressed Files
Header = RAW (Header-less)
Encoding = Signed 8-bit PCM
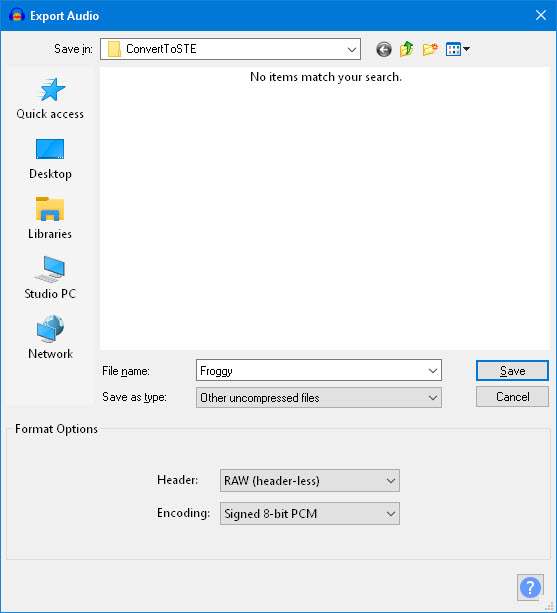
Click Save to save your converted file.
Well done!
Congratulations, you have now converted the audio to a format that will work with the STE. The file can be loaded into a standard STOS bank, and be replayed using the “e play” function from my GBP extension. You will notice that because of processing the audio via a PC/MAC that the result is much better than simply doing it via the STE. I much prefer doing it this way, but would be interested to hear how you get your digital samples into the STE.
Have fun!